As my most devoted readers will remember, I recently made flatbread that wasn’t very pretty, but did taste pretty good. For those of you who don’t remember or are just stumbling across the blog now, it looked a little something like this:

While this “pizza” was tasty, the cross-section left something to be desired. It was dense and heavy, far from what one looks for in a pizza dough.

Phase II
Of course, once I got bitten by the pizza-making bug (again), it was pretty hard to go back. I had a phase a few years ago that lasted for months, and I had been freshly re-infected. I started to dig up my old recipes and techniques for dough making. I pulled out my war-notes, which were tattered from wear and filled with endless scribbles.
Newly armed with old knowledge, burgergal and I made ramp pizza.

While it was better, it still didn’t capture the essence of pizza. The dough had some bite but was still a bit too bready. I wanted real pizza. I wanted chewy crust. I wanted char.
It was time to perfect my pizza skills.
Phase III
Reading through countless blogs and discussion forums, I saw the same posts I had read years before… Jeff Verasano’s great (and detailed) journey to the perfect pie, endless forums on Forno Bravo, myriad posts on chowhound. “Get high heat” they all proclaimed. “Use a sourdough starter,” they advised. “Give it up and head down to Motorino,” I thought to myself. The techniques seemed too complex, the necessary equipment too expensive (and too bulky) for my rented New York City apartment.
Was all hope lost?
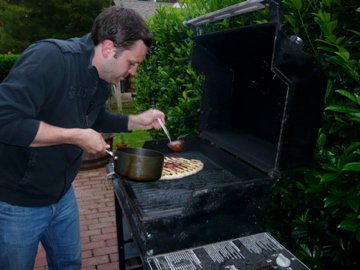
I talked to my friend Jeff, who had been experimenting on his own with grilled pizza. He was buying dough at pizzerias and placing it directly on the cooking grates. I had also experimented with grilled pizza and the results were pretty good. Open to re-visit the method, we grilled some pies over Memorial Day weekend out in the Hamptons.
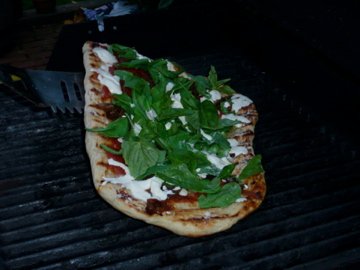
I have to admit, the technique works and imparts nice smoky flavor, even with a gas grill. The direct heat yields some nice charring and is relatively easy to do. That said, grilling pies over direct heat involves a fair amount of quickness and a rock-solid mise en place. You’ve gotta have everything ready to go. You also have to accept that the toppings are not going to “bake in” to the crust.
It is pizza, but it’s not Neapolitan style pizza, the stuff that I wanted to make at home. But Jeff’s grilling action reminded me of something. Grills get hot. Really hot. Hot like fire. What if I could get my grill up to 800 degrees and throw a pizza onto a stone in the grill? Surely, it could be done.
Right?
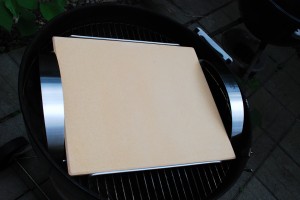
In my searches of the interweb, I stumbled upon this little guy: the Weber Style grill pizza stone. It fits snugly on a 22″ Weber charcoal grill (or a gas one) and even comes with a handy “serving rack.” (The serving rack is somewhat of a throw-away, since I’m not sure who would put a 400-degree pizza stone on the center of the dining room table– “pizza’s up! Don’t touch that– ouch, that looks painful, let me get some ice for you.” But I digress.) So I bought it.
After the stone arrived, I immediately wanted to try it out. I researched dough recipes (again) and settled on a version of Peter Reinhart’s pizza dough that I found over on 101 Cookbooks. I watched Michael Evans’ “Naturally Risen” around 50 times. I was ready to do this!
I made the dough a day in advance and put it in the fridge to “ferment.” I made a light sauce based loosely on the Scarpetta basil tomato sauce that I had made on countless occasions. I even bought mozzarella di bufala. That stuff is expensive, but I was ready to make awesome pizza. No one could question my desire.
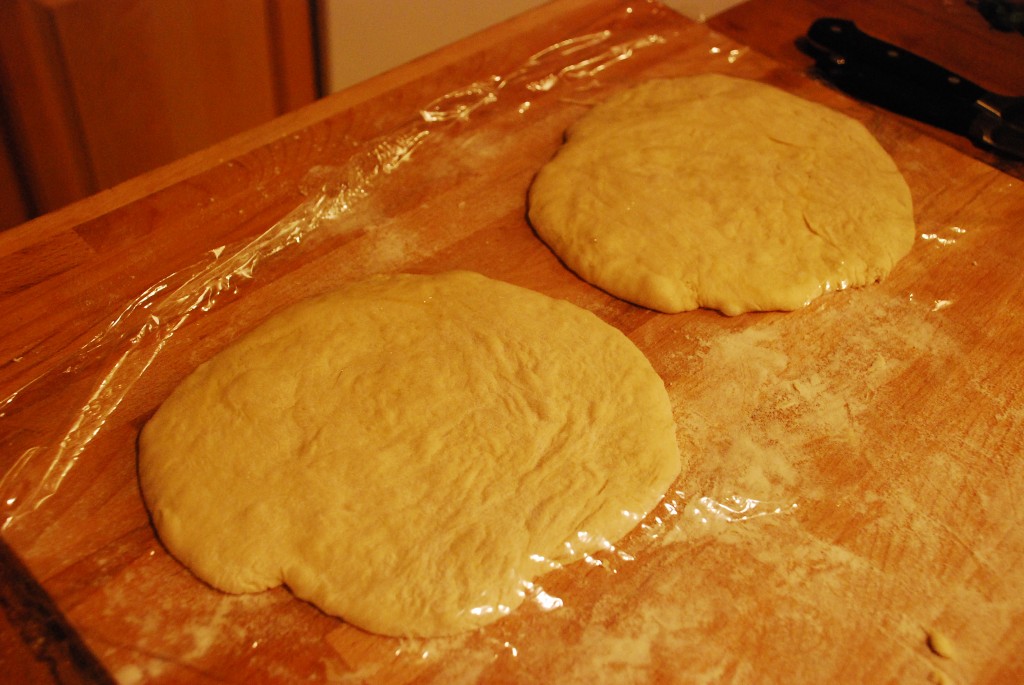
As directed, I took the dough balls out of the fridge a couple of hours in advance and placed them on the counter to rest before being scorched to Neapolitan perfection.
They looked and felt pretty good. They were soft yet had some give, which I figured would translate well to a pizza crust. The gluten seemed to have developed nicely in the fridge. They were certainly a vast improvement to what I had ever made in my past adventures in pizza making. I felt pretty good about the outcome. Again following the recipe, I stretched out the dough balls a bit and let them hang out a little bit more.
Everything was going well. I got the grill going and put the stone on the rack. The thermometer measured about 600 degrees, but I hoped that the stone’s surface was a little bit hotter (apparently it is scientifically possible for the surface of the stone to get hotter than the air in the grill. Don’t ask me how.).
We spread out the dough and topped the pizzas, just like I had seen Anthony Mangieri do in the video countless times. The stage was set. Pizza making time.
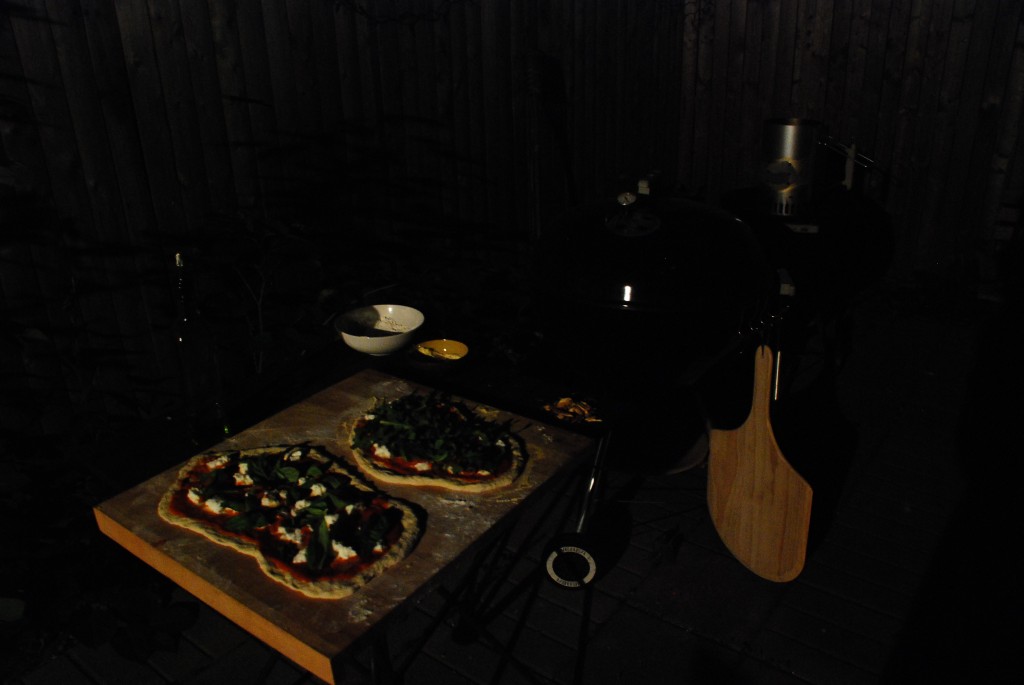 How about a little light on that shot?
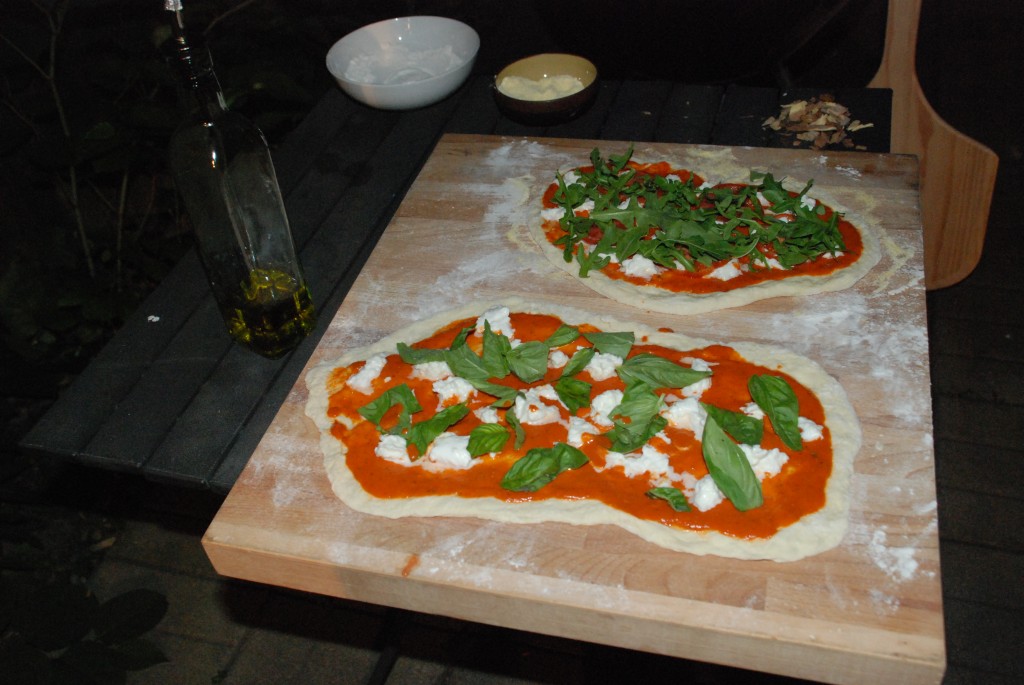 The pies looked beautiful. The grill was ready to go. I was going to master this on my first try.
There was just one little problem. A tiny glitch, really.
I couldn’t get the pizzas off of the board and onto the peel. You see, in the video, Anthony had no problem sliding the oven-ready pies onto his peel and then into the oven. It looked fairly simple. My skills aren’t quite there yet. So we had two pizzas that were more or less glued to the wooden cutting board. Put simply, we were screwed.
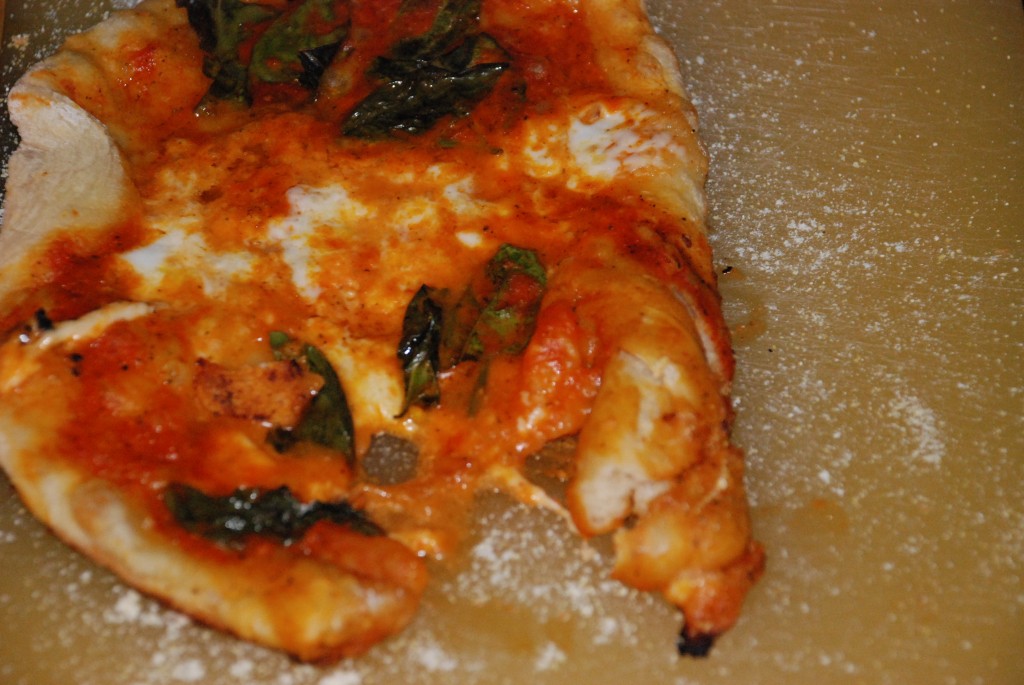
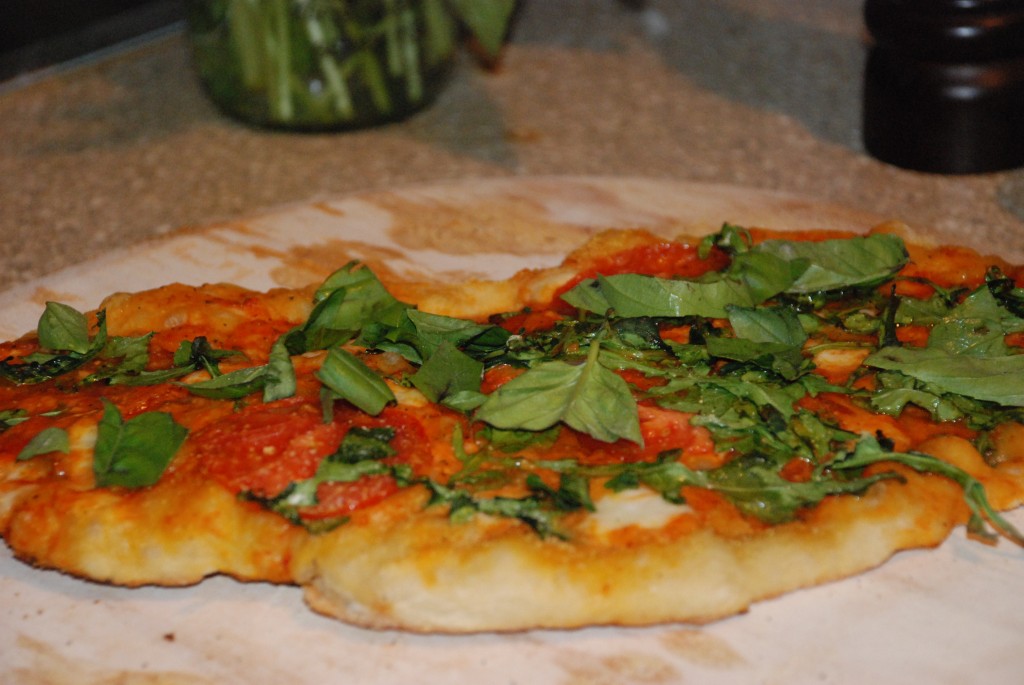
With some crafty spatula usage, we got the pies onto the stone, but I had already learned an important lesson: make pies on the peel. If you don’t, they end up like this:
That pizza started out round-ish.
Yeah, I know.
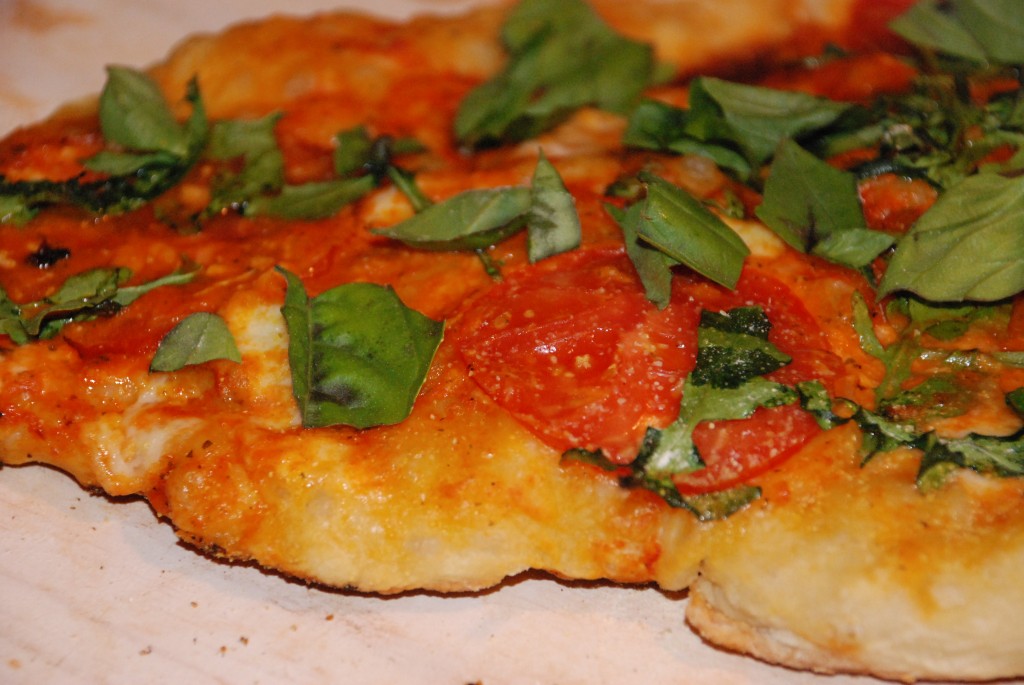
In addition to the lost areas and crab-claw crust, the pizza toppings leaked out onto the stone, instantly burning and turning black. On the second pie, it unfortunately imparted some bitterness into the crust, which was less than ideal. As you can see in the picture below, we also did not get much browning of the crust, which I was hoping to get from the hot grill. The takeaway for me was that coals should be placed on the side of the stone instead of directly underneath it. I figured the grill would become a convection oven that way.
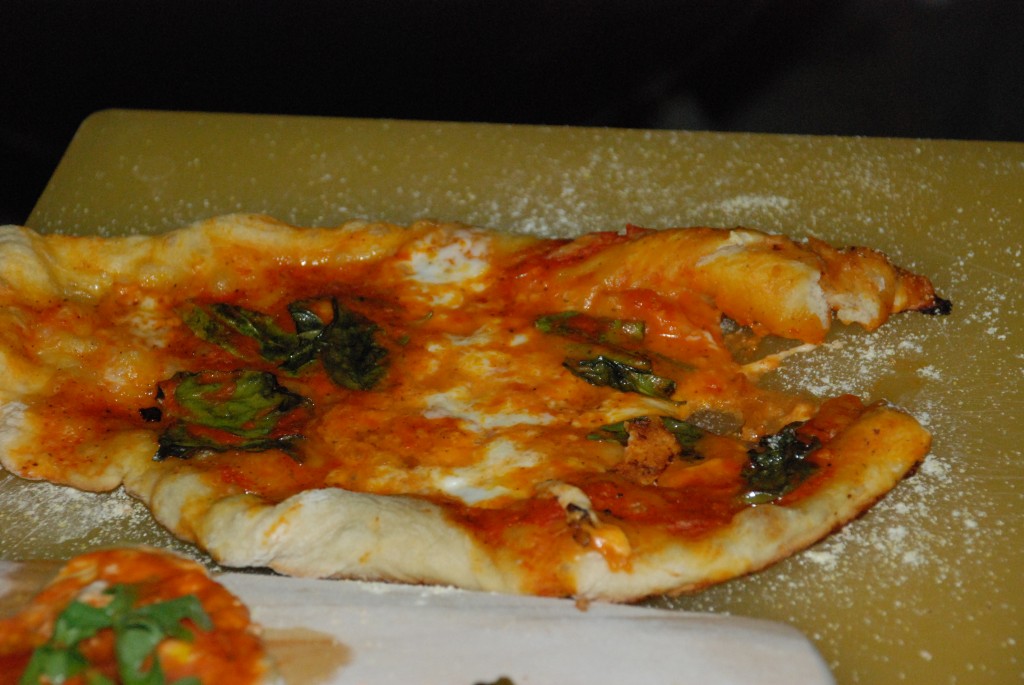 In spite of the mishaps, we ended up with two pies that were pretty darn tasty. The sauce was light and garlicky, accented by the fresh/cooked basil leaves. Although it was an extra expense, the mozzarella di bufala was worth the price– it was creamy and a perfect complement to the acidic sauce. The crust, while not perfect, had a great yeasty flavor and the olive oil added richness and body to the dough. However, oil made the dough too wet and a little difficult to manage. Since I wasn’t working with a super-hot wood-fired oven, I decided that flour with a higher gluten level would probably work better than the all purpose flour that I had used.
All in all, a pretty good first try.
The major takeaways:
- Make pizza on the peel, NOT on the counter
- Place stone on indirect heat zone to get more heat around the sides of the pie
- Use higher gluten flour, such as bread flour, and give the dough more time to ferment
- Don’t use olive oil in the crust
Until the next episode…


0 Responses to “Adventures in Home Pizza Making (Part I)”