A few weeks ago, I kick-started the pizza-making craze here on blogging for burgers, documenting some of my early (relative) successes and (definite) failures. An avid reader of J. Kenji Lopez-Alt’s food lab experiments on Serious Eats, I am consistently jealous of his cooking experiments. I wanted to get in on the action.
So I did.
But here is what I think is the main difference. Kenji is a legitimate food writer and recipe developer (and he’s definitely awesome at it). I am just a dude with a camera, a kitchen, and an insatiable appetite for obsessive internet research. In other words, I’m pretty much the same as you. I’m not able to write off any of my food expenditures, so I’ve gotta make sure that I’m not wasting anything I buy.
In other words, I’m a cheap wannabe food writer.
With that said, let’s get back to the pizza!
Last time, I had a few major takeaways:
- Make pizza on the peel, NOT on the counter
- Place stone on indirect heat zone to get more heat around the sides of the pie
- Use higher gluten flour, such as bread flour, and give the dough more time to ferment
- Don’t use olive oil in the crust
With these lessons in mind, I adjusted my technique and headed back to the kitchen.
Pizza Dough: The Return
When making the dough, I decided that I wanted to blend the no-knead and knead techniques together. Given my level of expertise with dough-handling, I figured that this would take the guesswork out of kneading while reducing the wetness that comes with the no-knead technique (as documented over on Serious Eats by Aaron Mattis).
I started out with a pretty standard mix of ingredients to make two pizzas (enough for two people):
- 2 1/4 cups King Arthur Bread Flour
- 7/8 tsp salt
- 1/2 tsp yeast
- 8 oz filtered water
In order to start activating the gluten in the flour as easily as possible, I mixed most of the flour (1 3/4 cups), the yeast and the water in a bowl and stirred until everything was evenly incorporated. I have read that the water and flour will do whatever they’ve got to do, they just need time. Kneading apparently just speeds up the process but that’s about it. After mixing, I just left it out on the counter to do it’s thang for about 15 minutes.
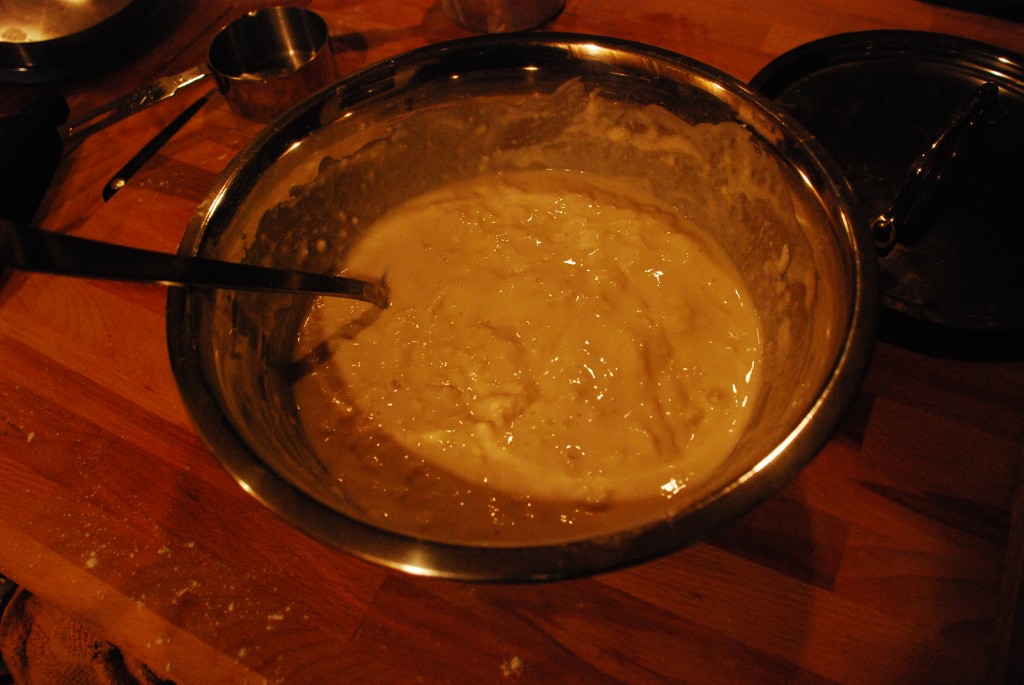
Then I added in the salt and the remaining flour. I again stirred everything until it was evenly distributed, adding a dash of extra water to keep the dough hydrated (keeping the dough wetter than a pizzeria would is beneficial for home cooks since it’s hard for us to get the same EXPLOSIVE action in an oven that is well below 1000-degrees). At this stage, I could feel the dough starting to come together, much more so than previous efforts, which I think was largely a function of the higher protein found in the bread flour. I let this sit for about 20 minutes.
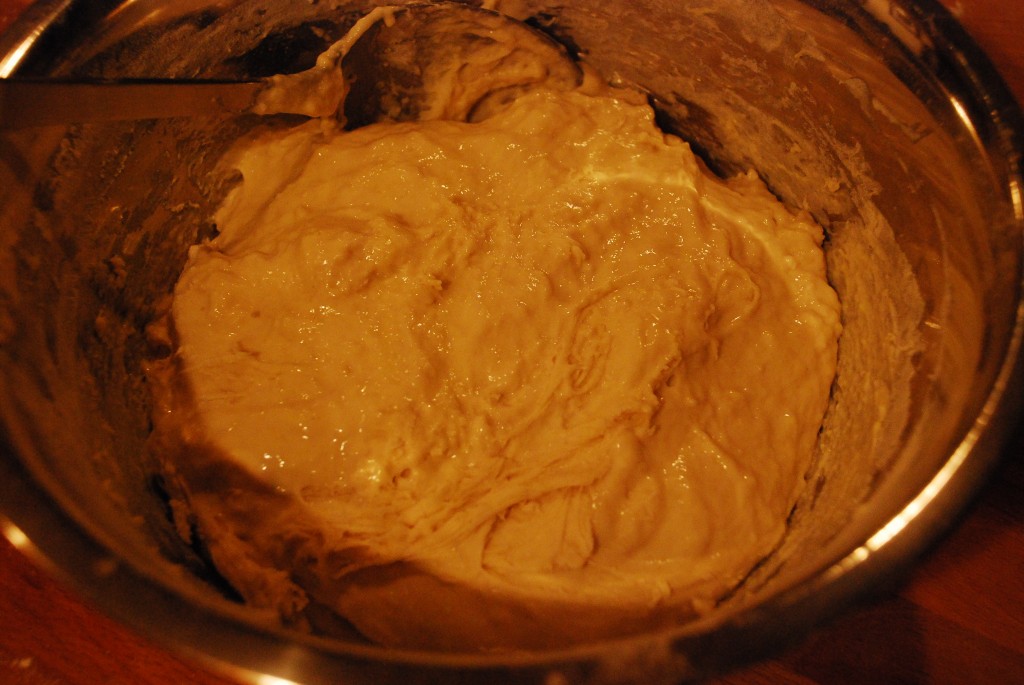
I know, these pictures are really tantalizing. After its chill session on the counter, I stirred the mixture for about five minutes, which was my lazy-man’s method of kneading, since I am not a pro at handling dough out on the board. After the five minutes, I turned out the dough onto a flour hotel pan, cut it into two even balls and “kneaded” them until the dough was smooth on the surface. Well, smooth-er. I can’t really get my dough balls to look like they seem to in pictures (yet).
After that, I put the dough balls into oil-lined plastic containers and placed them into the fridge, where they would hang out for a couple of days before meeting their baker.
Topping it all off
Last time we made pizza, I had gone fancy style and bought mozzarella di bufala and cooked down the basil-infused tomato sauce and all of that. For this round, I was keeping it simple: raw diced tomatoes and garlic/basil-infused oil. No cooking, just blending. Done.
I opted for cheaper cheese, going with freshly made mozzarella (di regular mozzarella-making cow), lightly salted. We also did mushrooms again, just because burgergal gets bored with plain pizzas.
Hot Stone, Hot Stone
Last time we used the grill to heat up the stone, we had some issues getting the grill hot enough and making the pies and doing everything else that needed to get done. With that in mind, I decided to heat up the stone in the oven for about an hour first before transferring it to the grill. The Weber stone is great for this because of it’s handy-dandy carrying rack. I heated the stone up to about 500 degrees inside before moving it onto the grill.
Putting it all together
I took the dough balls out of the fridge about an hour before go-time. As expected, they had risen very slightly, and continued to proof a little more after sitting on the counter for a while. There were a lot of tiny air bubbles, which I thought was a pretty good sign.
I turned the dough balls out onto a hotel pan (I was not going to take chances with things getting stuck to wood again!). They were easy to shape but maintained their integrity when being stretched out. More importantly, they were able to be moved around on the peel.
No more crab claws for me!
We topped off the pies with the aforementioned toppings and cooked them up. They took about 10 minutes to cook on the grill, but I could tell that my revised approach was much better from the second I slid the first pie off of the peel.
Mostly because the first pie slid off the peel.
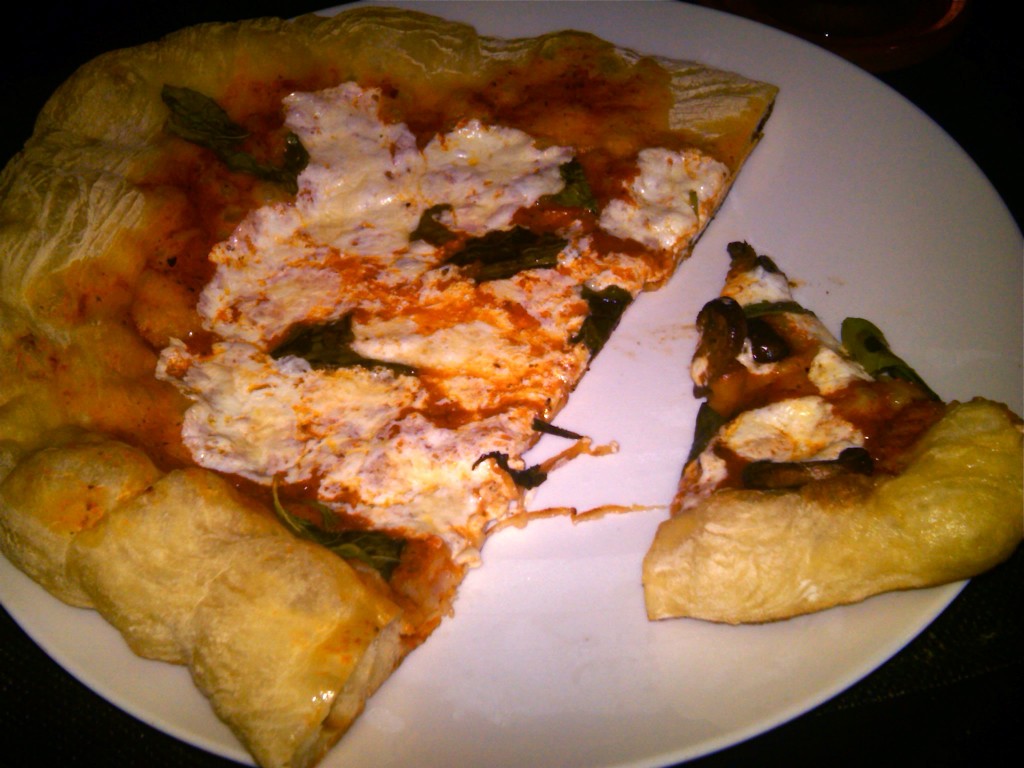
(I apologize for the quality of the pictures, I just wanted to eat!)
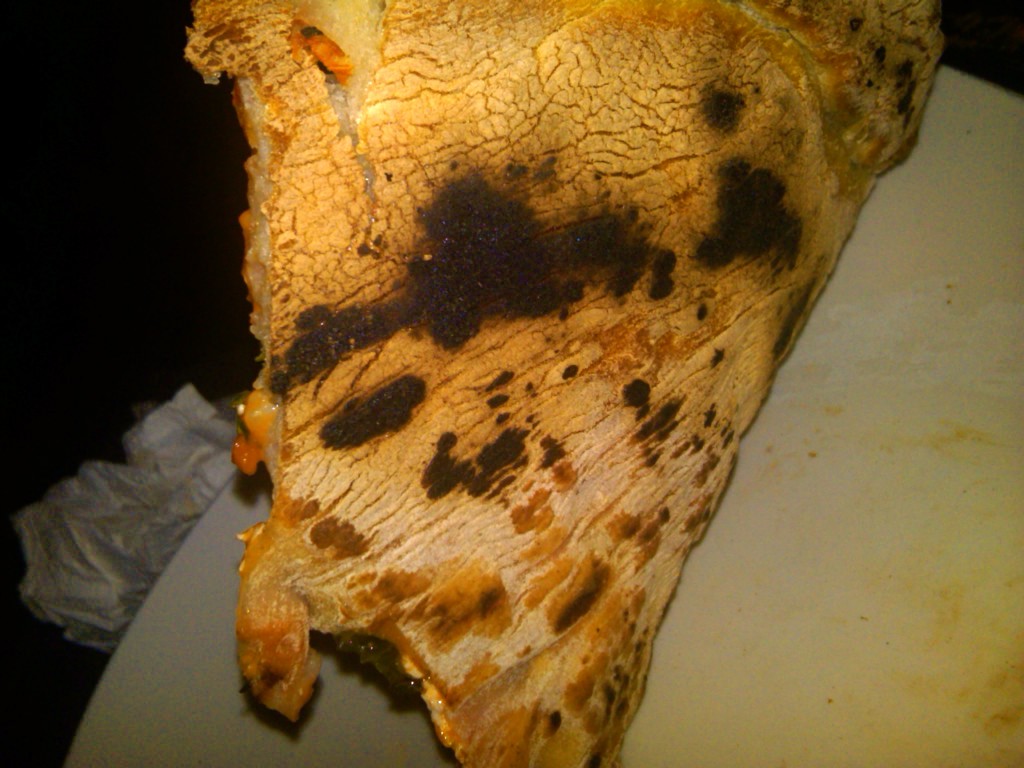
The crusts were crispy on the bottom but were still chewy and moist. The crust puffed up nicely, but I still wanted more color on the sides/top than I was able to get with the stone. As you’ll see below, I got some nice color on the bottom, but the top was still a bit “raw” looking. I figured that since I am probably not going to get more heat, I decided to try brushing the crust with olive oil in subsequent batches (to come in Part III).
You can also see in the below picture that the bottom of the crust got some puckering (like a fine neapolitan suit), which I think had to do with nervously moving the pie on the peel to make sure it wasn’t sticking. I guess another lesson is that I should trust the dough to not stick to the peel. This will probably come with time.
I wish you good pizza making until the next chapter! Sneak preview: I made FOUR pizzas, and I made them in the OVEN!

0 Responses to “Adventures in Home Pizza Making: Part II”